DNS settings on Mac OS X/OS X/macOS
1. Setting DNS using GUI on Mac OS X/OS X/macOS 2. Setting DNS using Terminal on Mac OS X/OS X/macOSThe list of DeepWebVPN DNS servers is available on the subscription page.
DeepWebVPN DNS servers are working if you are connected to the DeepWebVPN VPN network only. Use another DNS servers for correctly working of the Internet if you are not connected to the DeepWebVPN VPN network.
We recommend to read the project StopWatchingFor.Us to limit unwanted tracking by various trackers from both Web (Google Analytics, Adobe Analytics, Yandex.Metrica and others) and system applications (Microsoft Security Essentials, TeamViewer, Avast, McAfee and others).
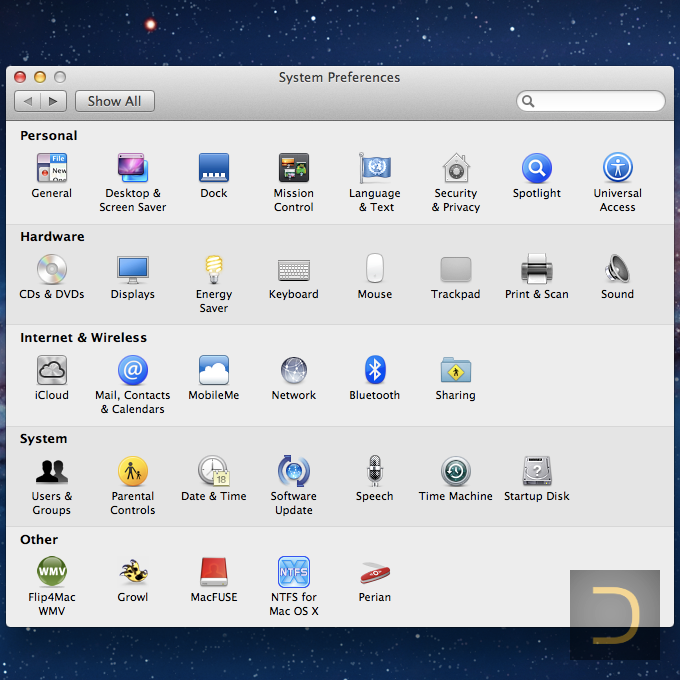
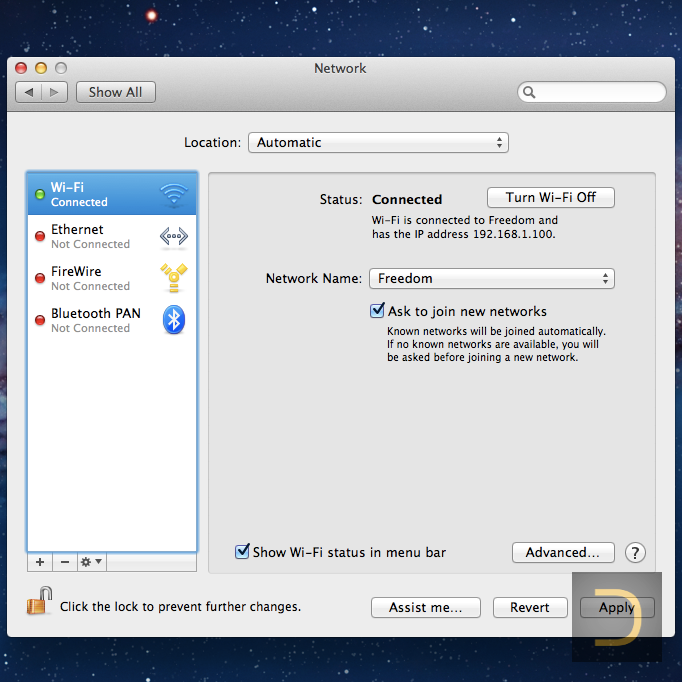
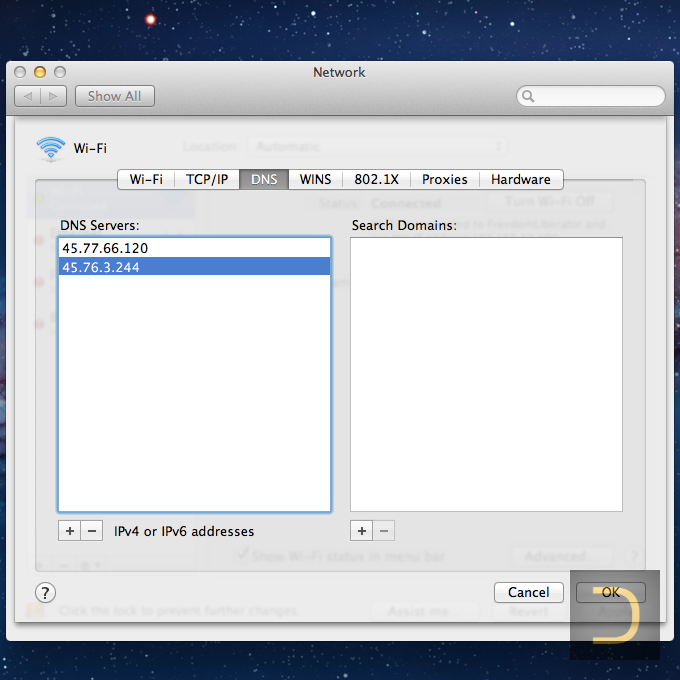
1. Setting DNS using GUI
Click the Apple icon in the top left corner and select System Preferences.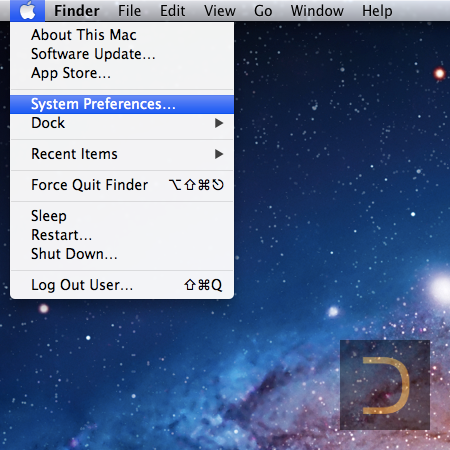
2. Setting DNS using Terminal
All described below actions have to execute in Terminal (Command Line) of Mac OS X/OS X/macOS only.
You should determine what network interface is connected to the Internet before changing the DNS. For example, command for changing DNS of Wi-Fi connection (change 9.9.9.9 and 7.7.7.7 to DNS of DeepWebVPN) looks like this (the command requires the user password).
sudo networksetup -setdnsservers Wi-Fi 9.9.9.9 7.7.7.7The command below shows current DNS settings.
sudo networksetup -getdnsservers Wi-Fi